Up and running
Learning by making is fun and effective. Learning to interface with other people's software is part of being a programmer and is a necessary skill to have as one. LÖVE is a framework for making games. A framework is just a set of tools or functionality combined together to serve a larger purpose. In the case of LÖVE this includes, but is not limited to:
- Functions for loading images, audio, and text
- Functions for creating and moving objects on screen
- Parameters for making the objects interact
Installing your development environment
The LÖVE website has links to install the software on your system. If you have LÖVE installed already, make sure that you at least version 11 (mysterious mysteries) as some functionality we'll cover here doesn't exist in older versions. For mobile devices you can find a copy in the app store.
Along with installing LÖVE, you will need a text editor for creating Lua files on your system. I'm not going to make any recommendations here, because in the end it all comes down to personal preference, but you can check this list by the LÖVE community if you need a starting point. It features different editors (and recommended plugins) for LÖVE and Lua development. Simply pick one.
Test that LÖVE runs
When you launch LÖVE, (see instructions below on how to do that) you will be greeted with a friendly graphic and the text "NO GAME", meaning you are running the engine but didn't give it a game to load.
macOS
Once you have downloaded the LÖVE binary for macOS (64-bit zipped), proceed to the "Downloads" folder and unzip the archive. You should now see an application called "love".

macOS might show you a warning modal, because you are trying to open an application by an unverified developer. If so, right click on the application and choose "open" and "open" again in the following dialog. You should now be greeted by the no-game screen.
Addendum: Homebrew
If you are familiar with development on a macOS machine, you might have heard of Homebrew. It is a package manager which allows you to install a lot of programs, libraries and so on directly through your Terminal.
I only recommend this approach for advanced developers who know what they are doing. For completeness sake here are the steps to install LÖVE via Homebrew.
/usr/bin/ruby -e "$(curl -fsSL https://raw.githubusercontent.com/Homebrew/install/master/install)"
brew tap caskroom/cask
brew cask install love
One of the benefits of this approach is, that you don't have to set up your own terminal alias, because Homebrew also takes care of that.
Windows
If a shortcut for LÖVE didn't appear in the start menu, you should be able to type "love" in the search and see it.
Ubuntu
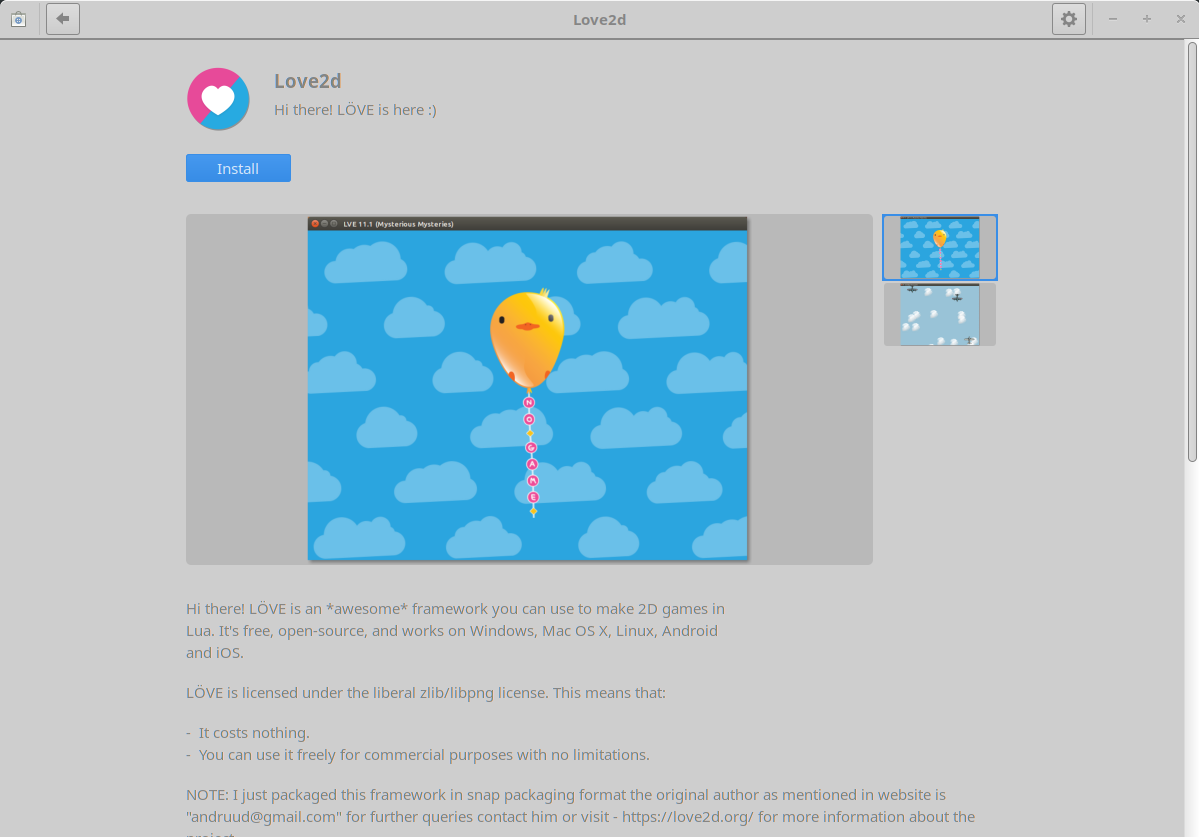
Open the "Ubuntu Software" application and search "love2d". Click on the top result and you should see a familiar application description:
Click the "Install" button to install it.
Once installed, you can search for the "terminal" application.
Once that is open, type love to launch the application.
Other GNU/Linux operating systems
Most distros have LÖVE in their respective repositories:
- Arch linux-based systems -
sudo pacman -Sy love - Fedora-based systems -
yum install love
Once installed from your package manager, open a terminal and type love to test that it runs.
If your distro doesn't have LÖVE in the package manager an alternative way to get it is to downloaded the AppImage version from the homepage (https://love2d.org/). AppImage files are like a universal executable that works across Linux systems similar to the way an "exe" file works on Windows. Once downloaded, open the terminal, change to the directory where you downloaded the AppImage and type the commands:
chmod a+x love-11.1-linux-x86_64.AppImage # Marks the file as a safe executable
./love-11.1-linux-x86_64.AppImage
love-11.1-linux-x86_64.AppImage should be changed to match the name of the downloaded AppImage file.
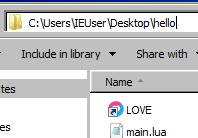
Create a project folder
Find a safe place to create a folder and give it the name "hello". Within the folder, create a new text file named "main.lua". This will be where our game's code goes.
Note for Windows: In order to create a file with the name "main.lua", you may need to first create a new "Text Document", right-click on it, click "Properties" then from the properties menu change the file extension from reading "main.lua.txt" to just "main.lua". To avoid having to do this for every Lua file you create in the future you can tell Windows to always show the full name of files, including their extension. To enable this, type "Control Panel" in the program search and open the "Control Panel" result. Within the control panel, select "File Explorer Options". Click the "View" tab. Remove the check mark from the "Hide extensions for known file types" and press Apply/OK.
Create a test game
Within "main.lua", write out the following function:
love.draw = function()
  love.graphics.print('Hello World!', 400, 300)
end
Now let's figure out how to run it and see what it does.
Run the game
This will be different for different operating systems.
macOS
Starting your game
The simplest way to start a LÖVE game is to drag the whole folder containing the game's source files (not just the main.lua file!) onto the application file.
This also works with .love files.
Using the terminal
If you are familiar with the Terminal, you can use it as a more convenient method of starting games.
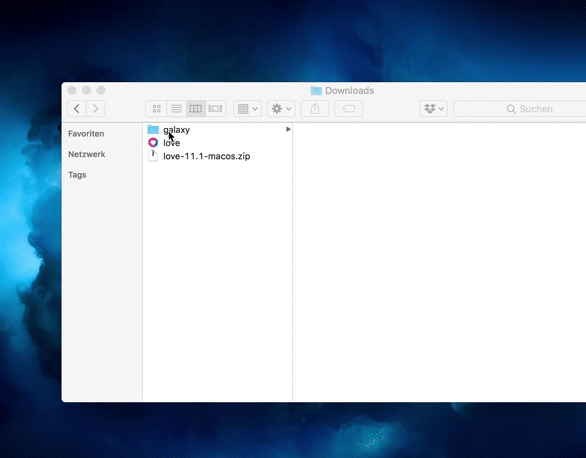
Assuming the downloaded "love" application is still in your "Downloads" folder, open a new Terminal and type the following lines (you need to press return after each line):
# Switches to the Downloads folder
cd ~/Downloads/

# Start the LÖVE app
open love.app
This obviously starts LÖVE with a no-game screen since we didn't specify which folder to load. Let's fix this by typing the following command:
# In my case the full command to start the galaxy demo would be:
# open -a love.app ~/Downloads/galaxy
open -a love.app <path-to-your-game>
Using a terminal alias
We can still improve on the previous method by using an alias. Before we do this, we move the "love" application bundle to the Application folder.
# Move the app from Downloads to Applications.
~ mv ~/Downloads/love.app/ ~/Applications/love.app
Now try the following command:
# Start LÖVE by using the script inside of the application bundle.
~/Applications/love.app/Contents/MacOS/love <path-to-your-game>
As you can see we now can run LÖVE without using the open command, which also has the added benefit of showing the game's console output directly in our terminal.
Of course it would be rather inconvenient if we had to specify the full path each time we want to run our game, so we'll now set up an alias in your .bash_profile (which basically acts as a configuration file for your bash sessions).
Since it is a hidden file you might not be able to spot it in your finder, but we can simply edit it through our Terminal.
# Appends the alias definition to an existing .bash_profile
# or creates a new one.
echo "alias love='~/Applications/love.app/Contents/MacOS/love'" >> ~/.bash_profile

# Use the updated .bash_profile for the current session.
source ~/.bash_profile

# Start your game through the alias.
love <path-to-your-game>
And that's it: You can now quickly run your games with the love alias. This is especially handy if you are inside of the game's directory, because all it takes now is a quick love . to start the game.
Windows
Find the shortcut to LÖVE and drag and drop it in the game folder like so:
Then right-click on the LÖVE shortcut and you will see a "Properties" dialog window similar to this:
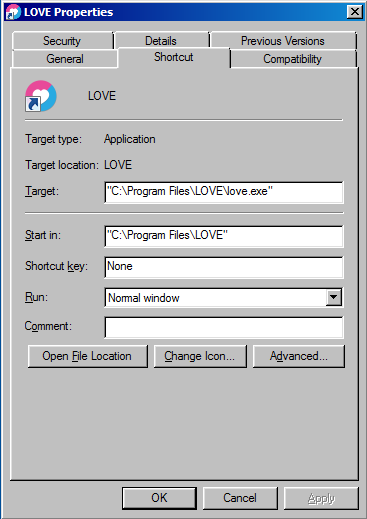
The "Target" field may be the same or slightly different depending on your system version. Without deleting the text string currently in the "Target" field, append the path to your game folder in quotes to the end. You can copy and paste this path from the folder's address bar. For instance the target path in the picture should go from reading:
"C:\Program Files\LOVE\love.exe"
to
"C:\Program Files\LOVE\love.exe" "C:\Users\IEUser\Desktop\hello"
Now press "OK" to close the Properties dialog and clicking the shortcut will launch the game. If the game ran successfully, you will see a black window with the text "Hello world!" in small print.
GNU/Linux
If you know the location of your folder, you can open a terminal and type the command:
love <path-to-your-game>
Where <path-to-your-game> has been changed to the actual folder path where your game resides.
If you are already navigated into the game folder, you can run a terminal command within that directory:
love .
The "." simply means "this folder that I am currently in".
Congratulations!
You've set up your development environment for writing a game in Lua. If you had issues getting through this, reach out to me either through a GitHub issue or my contact information and I will update this guide to including any additional troubleshooting steps for future users.
Now that our development environment is set up and our first game is running, try modifying the code so the string "Hello World!" reads something different. It's pretty apparent that running this function prints to the screen whatever string we give it. But what are the 2nd and 3rd parameters for?
love.graphics.print('Hello World!', 400, 300)
Try modifying those numbers and see what it does to the text.